
If your oven is starting to look grimy and baked-on grease is getting out of control, you’re not alone. Learning how to clean the oven at home is a must for any kitchen, and it doesn’t have to be hard or expensive. With a few simple steps, you can remove stubborn grease, burnt-on food, and grime, making your oven look and smell fresh again.
This guide will walk you through the easiest ways to clean your oven using household ingredients, without the need for harsh chemicals. Whether you want a deep clean or a quick refresh after a spill, these tips work for all oven types, including self-cleaning ovens and manual models.
By the end, your oven will not only look spotless but also work more efficiently. Ready to give your kitchen a clean slate? Let’s get started.
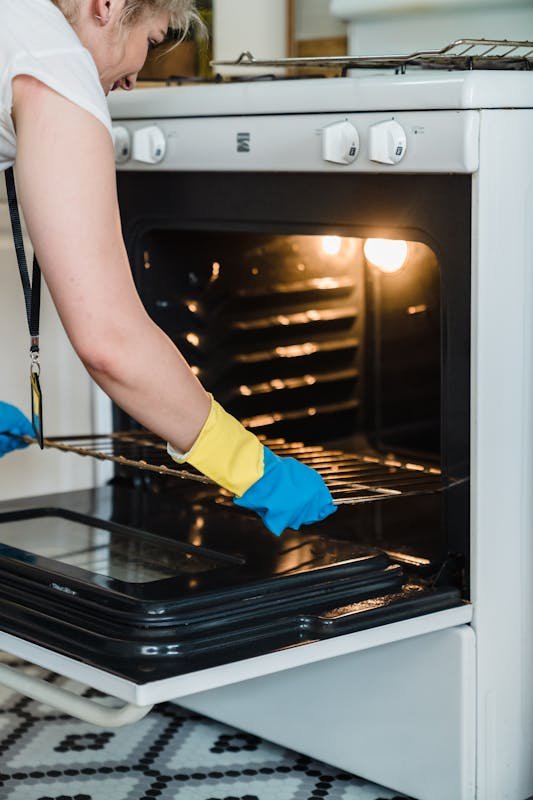
Step 1: Remove Oven Racks and Accessories
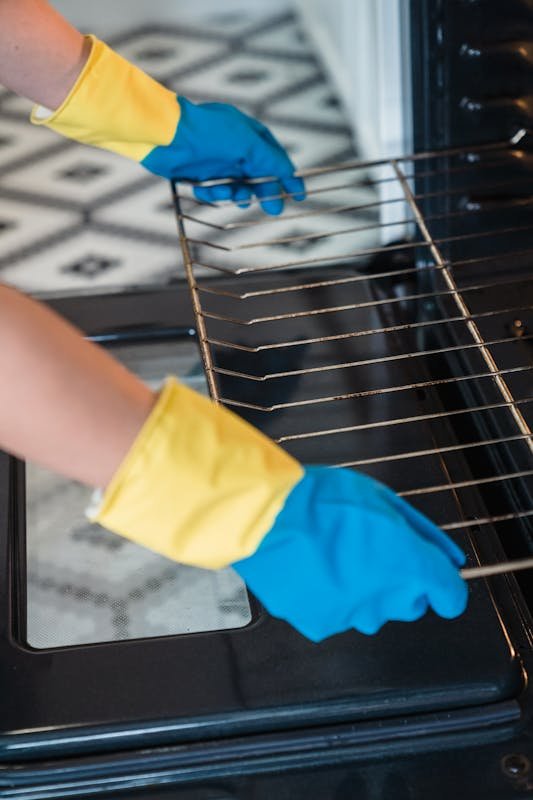
Start by removing everything from inside your oven:
-
Take out the racks, pizza stones, thermometers, or anything else inside.
-
Set the racks aside; they’ll get cleaned separately.
Pro tip: Give the inside of the oven a quick wipe with a dry cloth or paper towel to remove loose crumbs and debris before spraying.
Step 2: Make a Baking Soda Water Spray
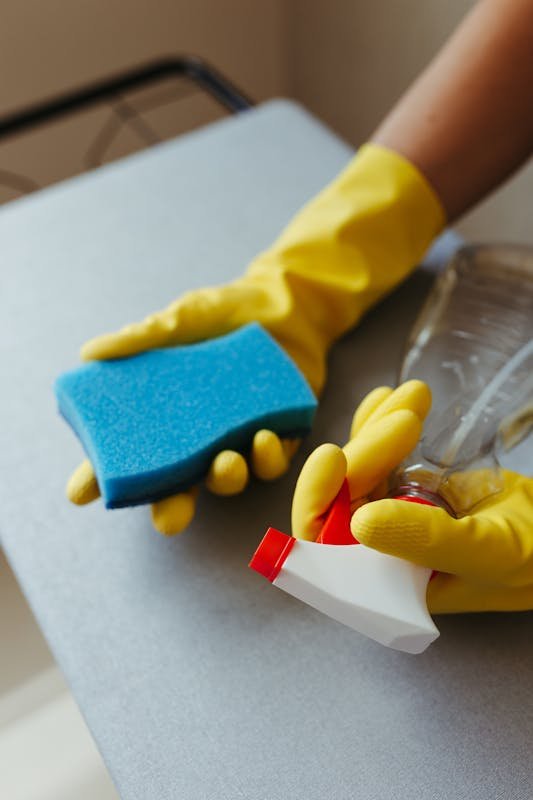
Instead of making a paste, this method uses a spray that’s easier to apply and perfect for light to moderate grime.
How to make it:
-
Mix 2 tablespoons of baking soda with 2 cups of warm water in a bowl.
-
Stir until most of the baking soda dissolves.
-
Pour the solution into a clean spray bottle.
Optional: Add a small squirt of dish soap for extra grease-cutting power.
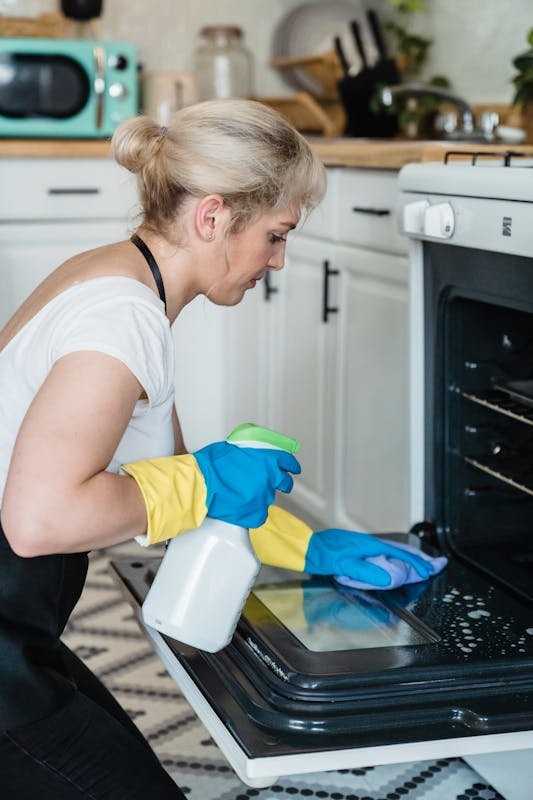
Step 3: Spray the Oven Interior Generously
-
Spray the entire interior of the oven walls, floor, and inside of the door, but avoid directly spraying heating elements or gas vents.
-
Pay extra attention to greasy spots or baked-on stains.
-
Let the solution sit for 30–60 minutes so it can loosen grime.
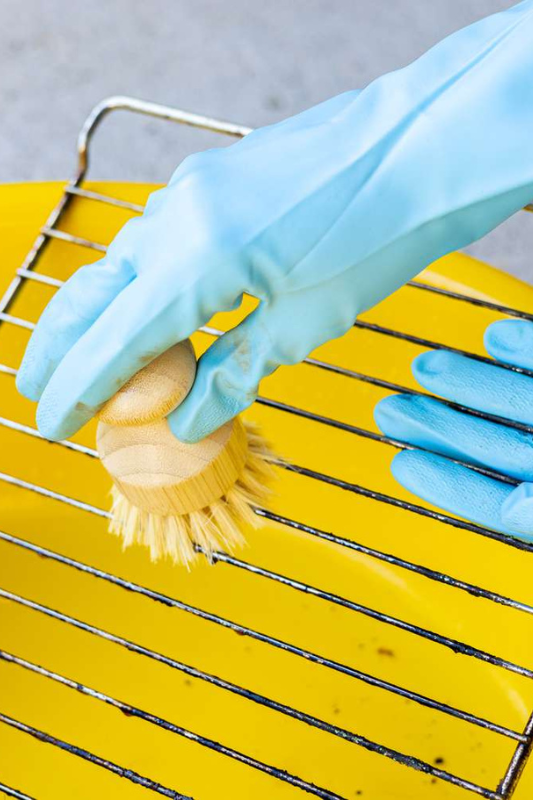
Step 4: Clean the Oven Racks
While the solution is soaking inside the oven:
-
Fill a bathtub or a large sink with hot water.
-
Add a few squirts of dish soap and ½ cup baking soda for extra cleaning power.
-
Soak oven racks for 2–4 hours (or overnight for heavy buildup).
-
Scrub them with a non-abrasive sponge or brush and rinse well.
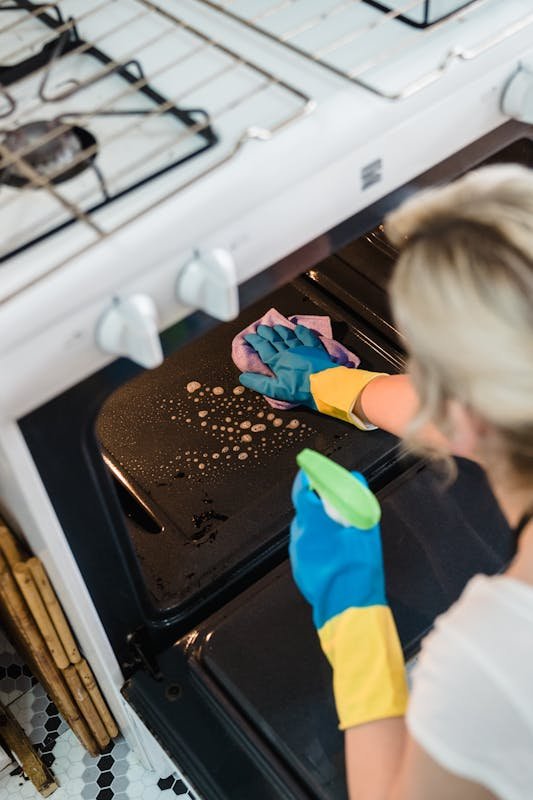
Step 5: Spray Vinegar to Activate the Cleaning Action
After your baking soda spray has soaked:
-
Fill a separate spray bottle with white vinegar.
-
Spray vinegar over the areas you treated with baking soda water.
The vinegar will cause a gentle fizzing reaction that helps lift grease and grime, a natural and effective way to clean!
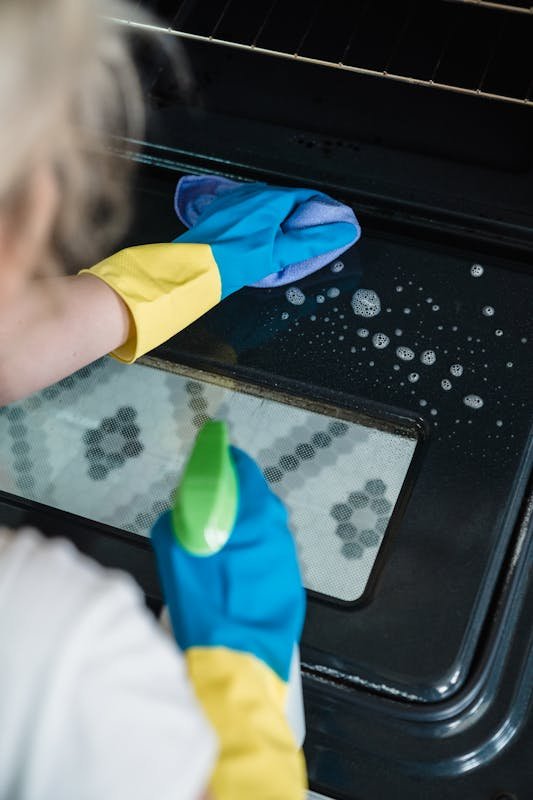
Step 6: Wipe Everything Down
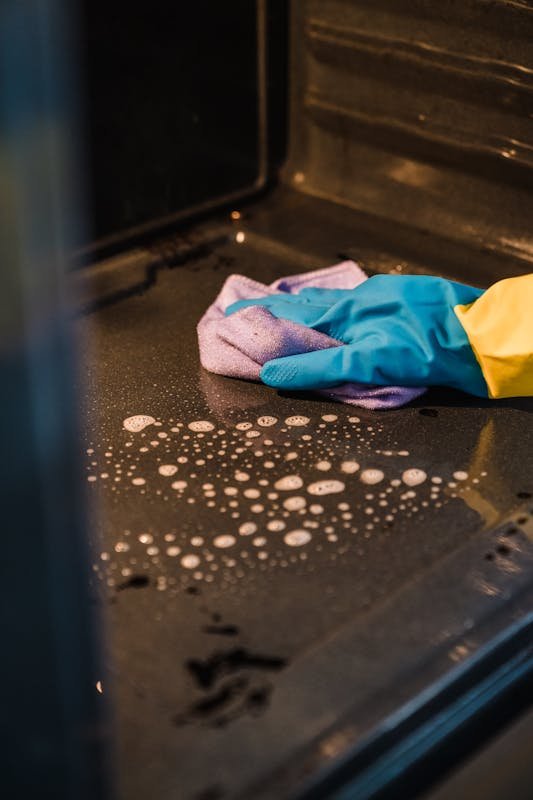
-
Use a clean, damp microfiber cloth or sponge to wipe away loosened grime and residue.
-
For stubborn spots, use a plastic scraper to gently lift baked-on messes.
-
Wipe all surfaces until clean and residue-free.
-
Rinse your cloth frequently so you’re not spreading grime back around.
Step 7: Clean the Oven Glass Door
If your oven door glass is cloudy or greasy:
-
Spray it with the baking soda water solution.
-
Let it sit for 15–20 minutes.
-
Wipe clean using a soft, damp cloth.
-
For streak-free shine, finish with a vinegar spray and buff dry.
Step 8: Final Wipe and Return Racks
-
After the interior is clean, give it a final wipe with a fresh, damp cloth to remove any lingering residue.
-
Dry completely with a towel.
-
Put the oven racks back inside.
Bonus Tips:
Quick deodorizing: After cleaning, place a small oven-safe bowl filled with water and lemon slices inside the oven and heat at 200°F for 20 minutes. This will leave a fresh, clean scent.
For stubborn grime: If areas still feel greasy or grimy, simply repeat the spray and vinegar process; it’s gentle and safe.
Maintenance tip: Wipe your oven regularly with the baking soda spray after heavy use to prevent buildup from returning.
With just a simple baking soda, water spray, and vinegar, you can easily clean your oven at home, no harsh chemicals required! This natural method is gentle, affordable, and perfect for keeping your oven fresh and looking like new, even if you haven’t cleaned it in a while.